So many different thoughts went into what I could use for this round. I decided to go with Grandma's pies. Some of her pies were tasty flops (like some pieces in my round as you'll see!), but regardless, every Sunday was spent at my grandparent's house with my aunts, uncles, and cousins, and it is one of my more favorite memories. As the cousins and I got older, we would typically groan at having to "sacrifice" a weekend day away from friends, but I am glad to have those memories.
My favorite pie that Grandma made was pecan. Unfortunately I am the only one in MY house that likes that kind of pie, so I have to really consider it before I make it for a holiday (there are about a million calories in each slice!).
I couldn't decide which way to arrange it:
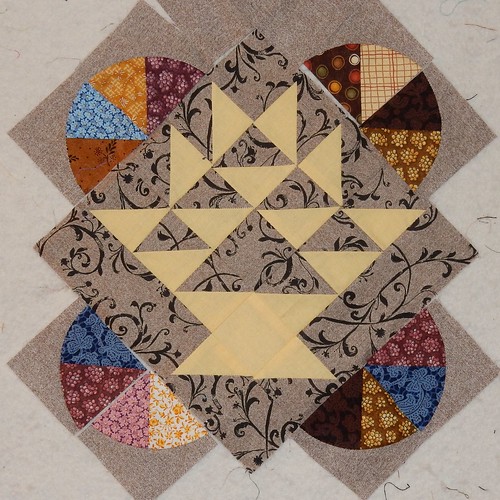
I actually had something totally different made with some other fabric scraps (with the same idea of "pie"), but in the end I did not like how it turned out so I ripped it off and went back to the drawing board. I think it might have been fine if I had chosen different fabrics.
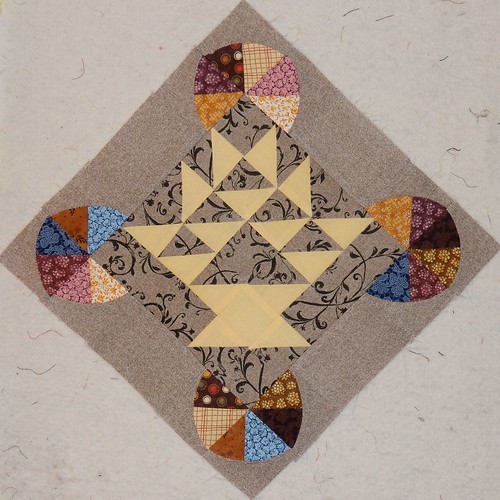
I may decide to do some applique or embroidery, but I'll decide that after the next round. It's 12" now, so I may need to put the corners on it soon before it gets too big. We'll see :)
If I wanted to really be exact with my drunkards path blocks, I would have made a line down the center of my template to line up with the half square triangles that I cut into--but I went with just guessing, and I am ok with that for this quilt.
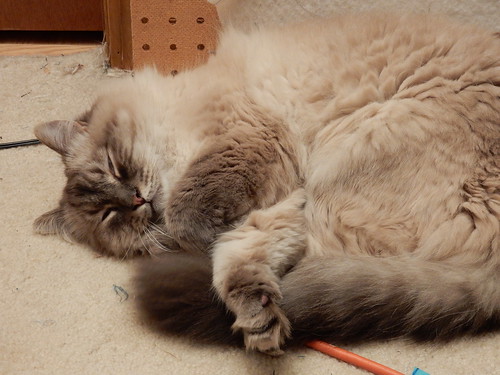
And here is my quilt room kitty, aka The Quilt Inspector. When he isn't attacking my design wall (thank goodness I'm not using foam panels!), he is usually curled up in this spot so he can watch what I'm up to.
Linking up: http://wabisabiquilts.blogspot.com/2016/07/childhood-border-link-up-gwennie.html
Adding, next month's theme: Log Cabins. I already have some ideas brewing!
95% about quilting and sewing projects but there are times I get a wild hair and decide to end up chasing squirrels! ok... not literally, usually
Thursday, June 30, 2016
Monday, June 13, 2016
Evergreen State BOM: Top Complete!
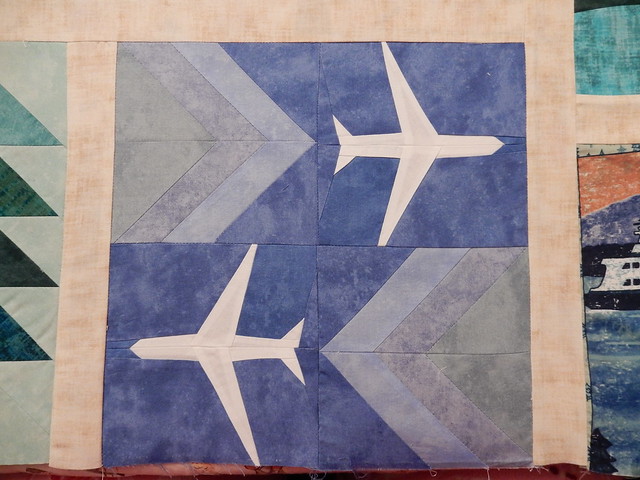
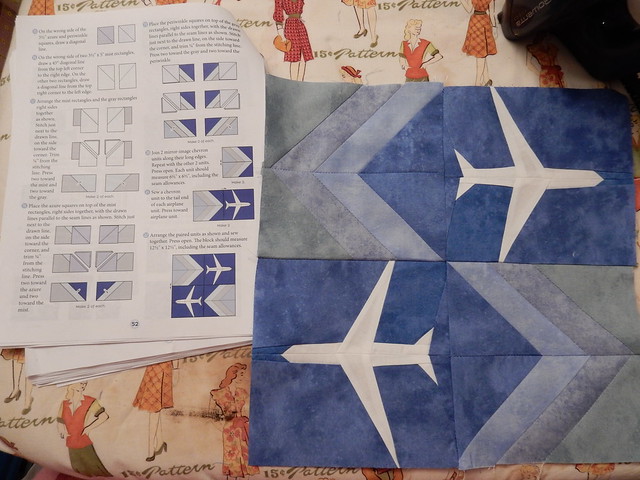
First of all.... one of these things is not like the other!
funny thing, you may already be able to figure out what the answer is to get the chevrons to go the correct way. Not me! It took me until after I gave up and put the block in the quilt, and laying awake in bed at 11:30 before I figured out the simple fix! Simply make the current centers of the chevrons the outside. So I got up and ripped out 8 seams to fix the block, and now I am happy. I kind of prefer the way the wrong way chevrons look overall, but of course that doesn't flow with the airplanes.
All fixed up!
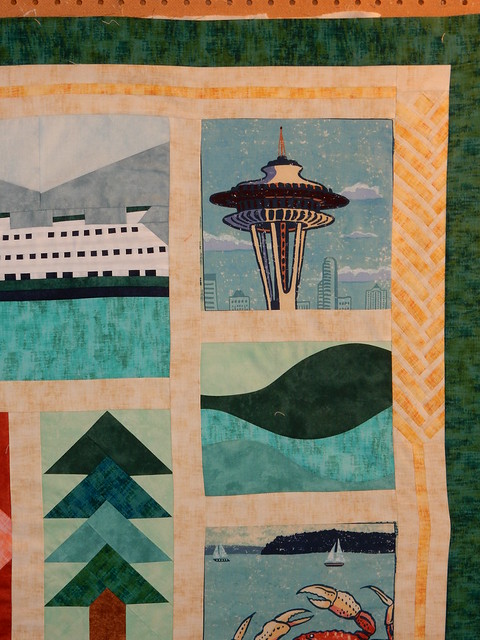
After I put together the center of the top, I decided that I would give the wheat border a whirl. I made sure I used a ton of Best Press though. I've said it so many times, but it's worth mentioning again--this quilt is made nearly entirely of blocks with bias fabric. I got a chuckle at reading the last section of instructions regarding wavey borders (or edges). I think it would have helped if not only recommending the measurement from the center but also using starch throughout the entire quilt as you construct. Though many of the blocks look pretty basic, this was not a beginner quilt at all.
My wheat was a little "off", but it measured 3" unfinished. (it's also clipped on one edge for the photo, so it's pulling a bit, but you can see in the wheat stalk center that it's a bit off).
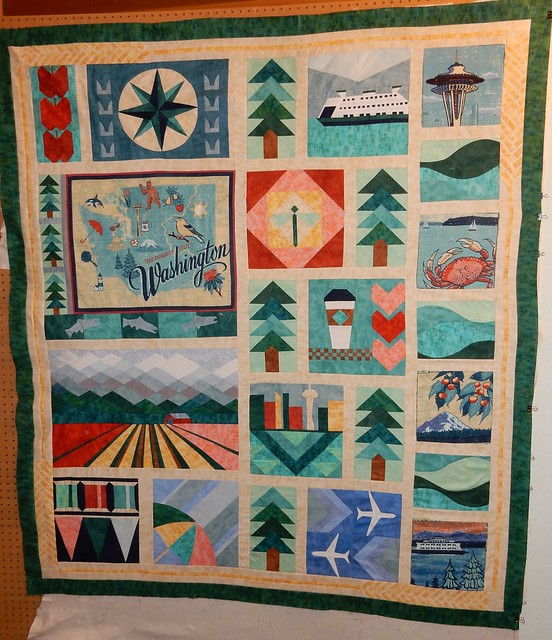
The top is so large now that I have to clip it up sideways on my wall for a picture. I am going to have to check my yardage stash and see what I have to work with for a backing. I'm overall pleased, and I am just about out of all the fabrics that I purchased for it. This was an expensive quilt for the way I bought fabrics and bits for it :)
Tuesday, June 7, 2016
Metro Rings Baby Quilt
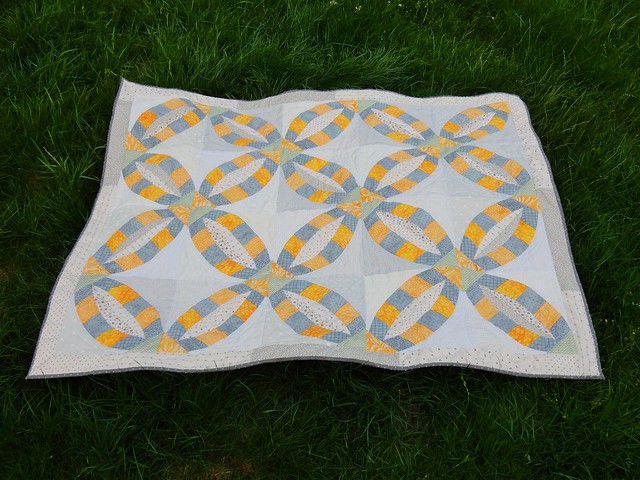
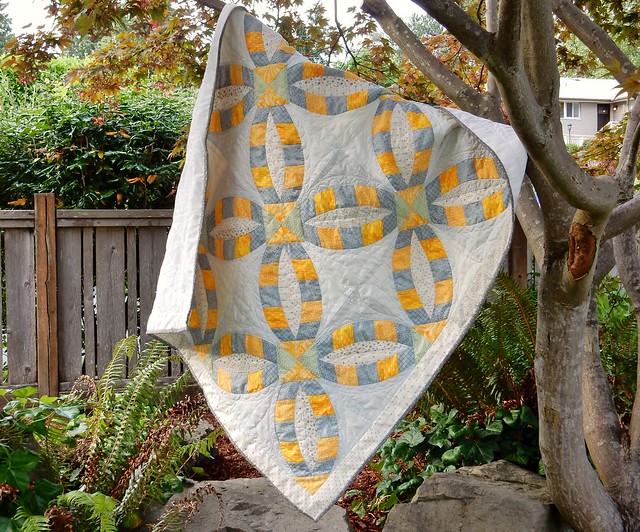
I found out last Friday that my 3rd grader's teacher is expecting. Yah! I am very excited for her as this will be her first child and I know she'll make a great mom. This past weekend I worked on a Metro Rings quilt in crib size. I'm happy to say that this is likely one of the first true baby quilts I've made in a while (most I make are much larger). I'm not sure if she is having a boy or girl or a color scheme she is looking for. Metro Rings has their pattern in similar colors (yellow, grey and mint) and I just love the combination... so this is what I went with.
Hey! Someone hung a quilt in my tree!
Now I need to figure out what to write on the quilt label... google to the rescue :)
Hey! Someone hung a quilt in my tree!
Now I need to figure out what to write on the quilt label... google to the rescue :)
Monday, June 6, 2016
Gwennie Inspired Medallion QAL
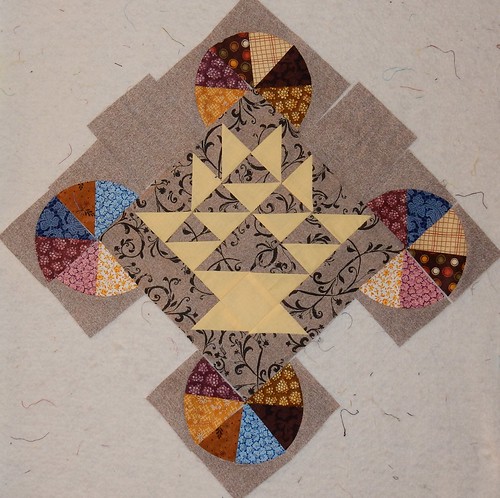
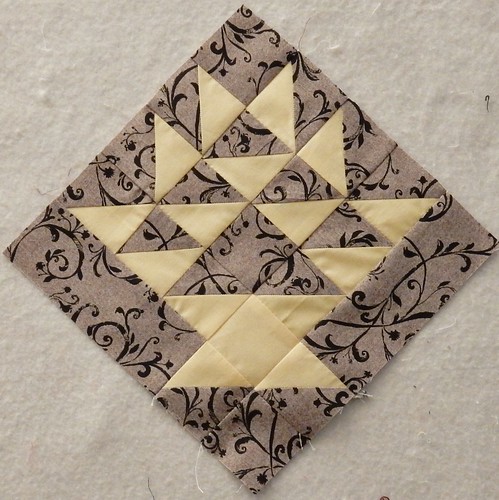
I finished up the center medallion of the QAL (today... oops!). A cute 8" grape basket block.
It's not much to look at yet, but as the borders go around, it should become more lively :)
I plan to do more yellow quilts, so a yellow basket medallion it is! I think my friend Julie cringed when I told her my plan for a yellow quilt I have in mind to make! LOL! I did buy a bolt of Kona Highlight when I saw it was the color of the year too.... I can't help it, it's the color of Daffodils :) (add several heart emojis right here....) :)
To view other basket medallion blocks, check them out here: http://humblequilts.blogspot.com/2016/06/gwennie-inspired-medallion-qal.html
Happy Monday!
Wednesday, June 1, 2016
Fixed....
Not one who can leave things alone... or, after much thought...
Before:
After:
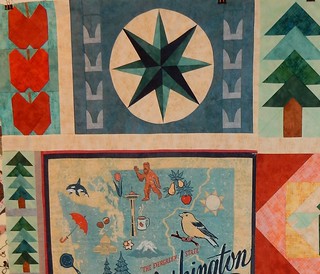
I decided that I needed to attempt to turn the Mariner's compass so it was going the right way. I very carefully ripped out the center and then realigned where the seams needed to be. The block is starched enough it could probably stand on its own :) But it's together. Not perfect, but it's turned the correct way now.
As for the Seahawks "feathers"... Those will just be left. Kevin called them "gun sights". Sigh....
Subscribe to:
Posts (Atom)