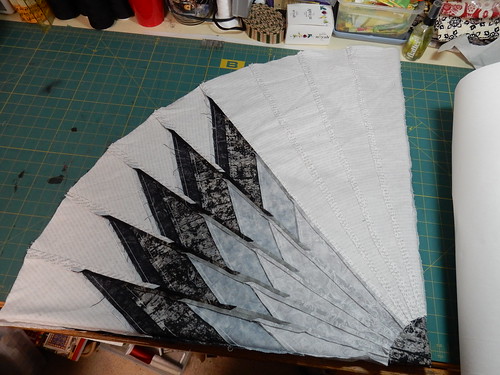
finding my quarter sections was simple with the number of wedges used for the pattern:
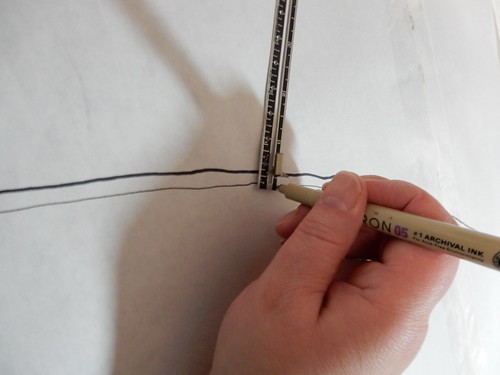
I had to use two layers of freezer paper to cover the entire quarter. I traced along the edge and then added a quarter seam:
And here we go with trepidation I cut two layers at a time. I matched the two ends of the yardage so that one side would have the words upside down. I turned the template and cut two more sections in the same method.
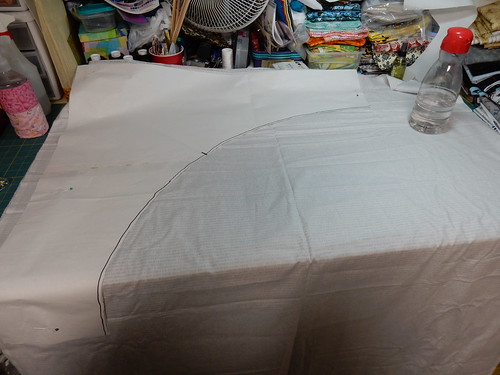
After making sure the words on the background fabric were all going the same direction, I sewed the background together at the ends and then pinned it to the center.
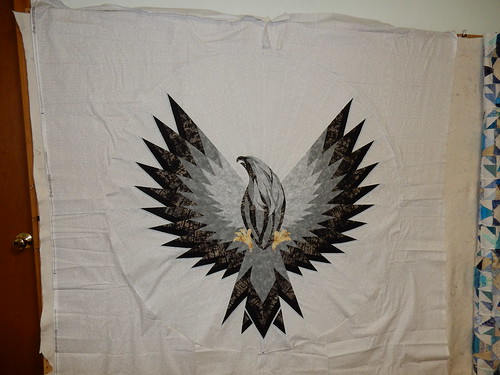
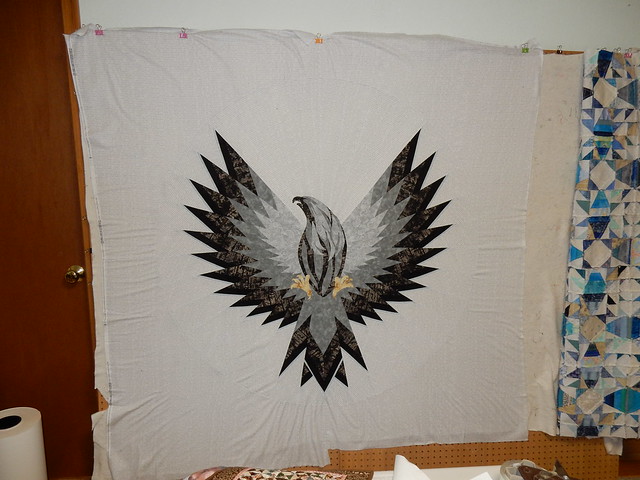
The fabric isn't quite "smoothed" yet on my wall, but I can tell I may have to do something to the bottom near the tail to ensure no waves. I'm thinking I may unpick and resew.
Currently it is over 64" square, but I will be trimming it back quite a bit (probably close to the sides/top/bottom of the center. I'm not set yet what I will be adding around this medallion, but I have some block ideas in mind. I've been pinning a few ideas on pinterest since I started planning this quilt last summer.
I am thrilled with how the center has turned out!
It's a great looking Eagle! I've seen this done before in Blues and grays. Hope you son doesn't read our BLOG.
ReplyDeletehaha! Yeah, there's likely a 0% chance of him reading it :) Thank you for suggesting to look at Robin Ruth's method. I've done that before in the past, not sure why I didn't consider it first for this one--other than the pieces were huge! I did resew the bottom and now it lays flat, yah!!
Delete