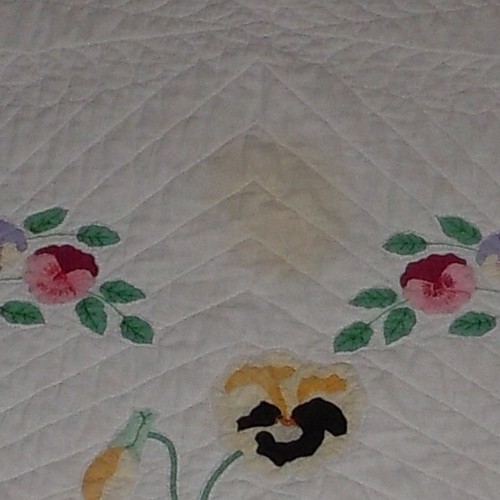
Before:

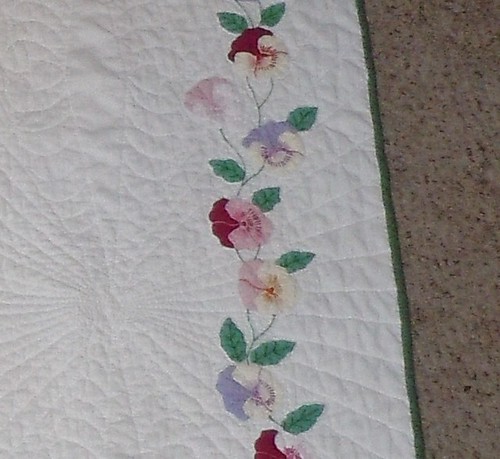
After:
Binding:
In the end I decided to cut away the old binding and attach the new in a French fold binding. I am happy with how it came out, and the corners came out very nice. I attempted to practice the other method on a small practice square and it turned out pretty terrible.
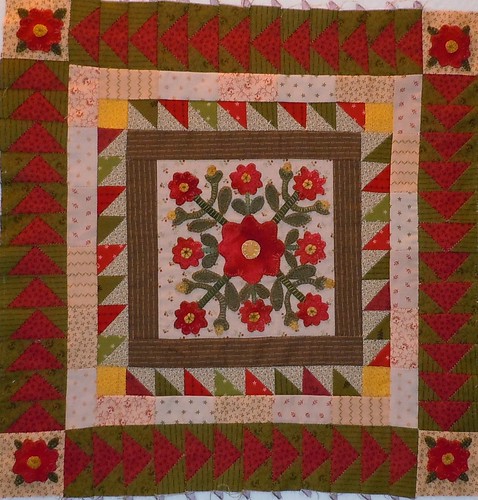
And finally part three is finished with my stitch along. The reds made my camera go crazy! I had to redo two sides and when I reattached it, I realized that the flying geese weren't going around in the same direction. Sigh. I'm not ripping and redoing again. I have part four ready to go, maybe I will get to it next week.
You did a great Job. I use Oxy-clean and BIZ on my Whites. Did you try pinning the color catcher onto the stain?
ReplyDeleteGood ideas! I am going to pass that along to the owner! I hadn't even thought about pinning a color catcher to it.
Delete